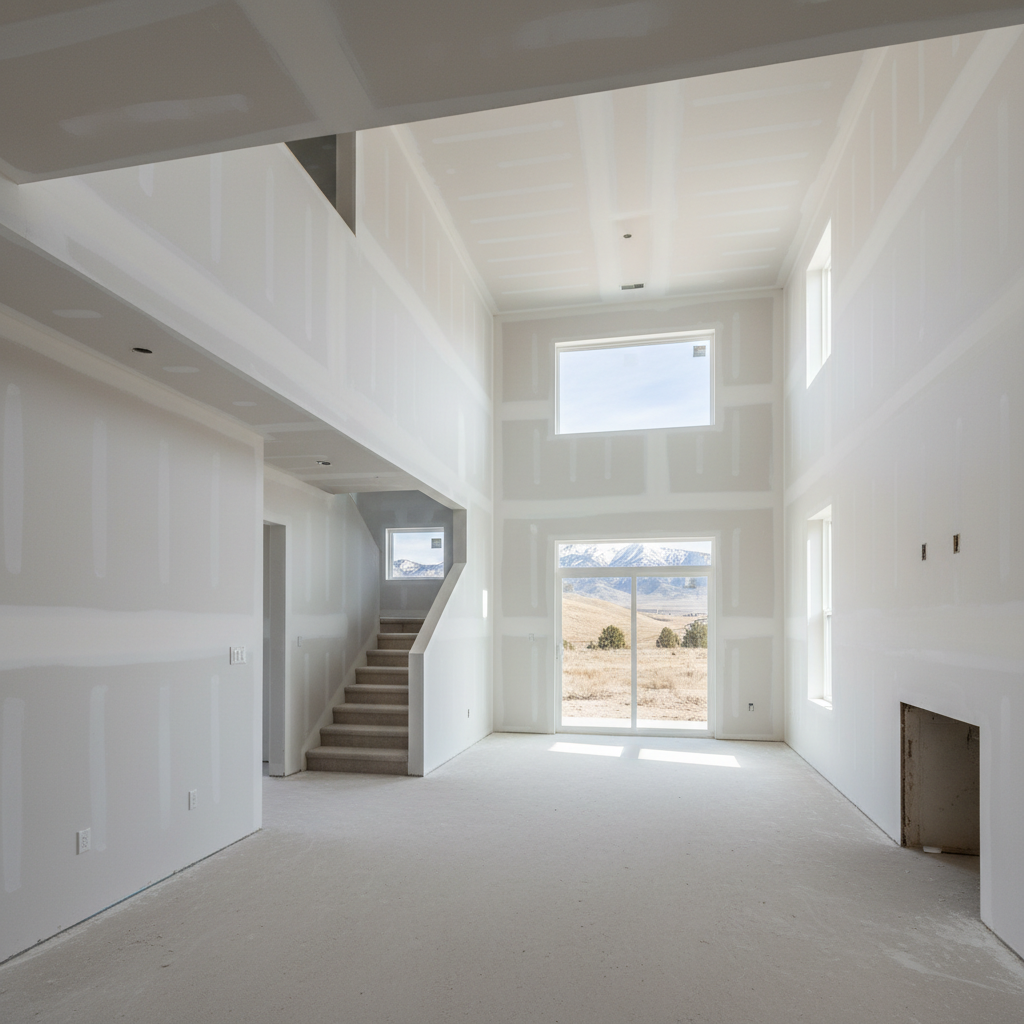
Thinking about tackling a sheetrock installation project at your place? Maybe you're finally finishing that basement, adding a new room, or diving into a full-blown renovation. Whatever the reason, you've probably got questions, right? Well, I'm here to give you some straight answers on how to plan it all out. It's not just about nailing up boards, you know; there's a whole process to consider if you want a professional, lasting finish. Trust me on this.
Setting Your Project Timeline: What to Expect
Let's talk timelines for a minute. This is where a lot of homeowners get a bit surprised. Drywall isn't a one-day job, not by a long shot, especially if you're doing a whole house or a big addition. For a typical room, let's say a 12x12 bedroom, you're looking at least a week, and often closer to two, from start to finish. That includes hanging, taping, mudding, sanding, and then all those final touches. So, why does it take so long?
- Hanging: This part can actually go pretty quick if the framing is solid. A skilled crew can get a lot of board up in a day.
- Taping & Mudding (First Coats): Now, this is where the real work starts. You apply tape to all the seams, then that first layer of joint compound goes on. This absolutely has to dry completely before you can move on. Depending on how humid it is, that can take anywhere from 12 to 24 hours.
- Second & Third Coats: Each one of these coats needs its own drying time. We're building up layers, remember, to create that smooth, seamless wall you want. Patience really pays off here.
- Sanding: Once the final coat is good and dry, it's time for sanding. This step creates a perfectly smooth surface, ready for primer and paint. It's dusty, no doubt about it, but totally crucial.
- Cleanup & Touch-ups: We don't just pack up and leave you with a mess. There's always a final walk-through, some minor touch-ups, and a good, thorough cleanup.
So, when you're planning, don't just think about the 'hanging' day. Make sure to factor in all those drying times. If you're doing a basement finish, like many homes in the Willow Creek area, you might be looking at 3-4 weeks just for the drywall, depending on how big and complex the job is.
What Happens During the Installation Process
Okay, so you've got a timeline in mind. What's it actually going to look like when we're on site? First off, expect some noise. We're cutting boards, drilling, and sometimes using power tools. It's definitely not going to be library-quiet, that's for sure.
Next, it's going to get dusty. Even with dust-reducing compounds and special vacuums, drywall work creates a really fine dust. It gets everywhere. We do our absolute best to contain it, but you'll want to protect anything you don't want coated in a fine white powder. Think plastic sheeting over furniture, doorways, and HVAC vents.
You'll see different stages unfold. One day, the walls are just bare studs. The next, they're covered in big sheets of gypsum. Then, they'll look kind of messy with tape and mud, almost like a giant puzzle being put together. Finally, they'll transform into those smooth, paint-ready surfaces. It's a process, and it usually doesn't look "pretty" until the very end.
Preparing Your Home for Sheetrock Installation
Preparation is key to a smooth project. Here's what you can do before we even show up:
- Clear the Space: Move out all furniture, decorations, and anything valuable from the work area. If you can't move it, cover it thoroughly with plastic.
- Protect Floors: Lay down drop cloths or heavy-duty paper on any flooring that isn't going to be replaced. Even if it's just subfloor, this helps keep the dust down and protects against accidental damage.
- Ensure Access: Make sure there's a clear path for us to bring in those big sheets of drywall. We're talking 4x8 or even 4x12 foot sheets, so we really don't want to be navigating around your prize-winning rose bushes or a cluttered garage, if you know what I mean.
- HVAC & Electrical: Make sure all your electrical wiring is roughed in and inspected if it needs to be. Same goes for plumbing and HVAC. We can't drywall over something that isn't ready yet.
- Temperature Control: Drywall mud cures best in moderate temperatures. If it's freezing cold outside, or scorching hot, that can really mess with drying times. Try to keep the area between 55-75 degrees Fahrenheit if you can. Here in Sandy, our winters can get pretty cold, so keeping the heat on is a must for proper drying.
Questions to Ask Before Signing on the Dotted Line
Before you commit to any contractor, including us at Progressive Drywall Inc, you really need to ask some pointed questions. Don't be shy; it's your home and your money, after all.
- What's your detailed scope of work? I want to see it in writing. Does it include hanging, taping, all three coats of mud, and sanding? What about primer? What about cleanup?
- How long do you estimate the project will take, specifically? Get a start and estimated end date. Understand that weather and drying times can shift things, but a good contractor will give you a realistic window.
- Who will be on site? Will it be your employees, or subcontractors? I prefer to use my own crew because I know their quality, but some companies use subs. Just know what you're getting into.
- What kind of materials do you use? Are you using standard drywall, moisture-resistant board for bathrooms, or fire-rated for specific areas? What brand of joint compound do you typically use?
- What's your payment schedule? Usually, there's an upfront deposit for materials, then progress payments. Never pay the full amount upfront, ever.
- Do you carry insurance? This is non-negotiable. Ask for proof of liability insurance and worker's compensation. If someone gets hurt on your property and they're not insured, you could be liable.
- What's your warranty? What happens if cracks appear a few months down the line? A reputable contractor will stand behind their work.
Asking these questions upfront will save you a lot of headaches later on. A good contractor will actually appreciate your thoroughness because it shows you're serious about your project. Planning ahead makes all the difference, and it ensures you get the smooth, durable walls you're paying for.